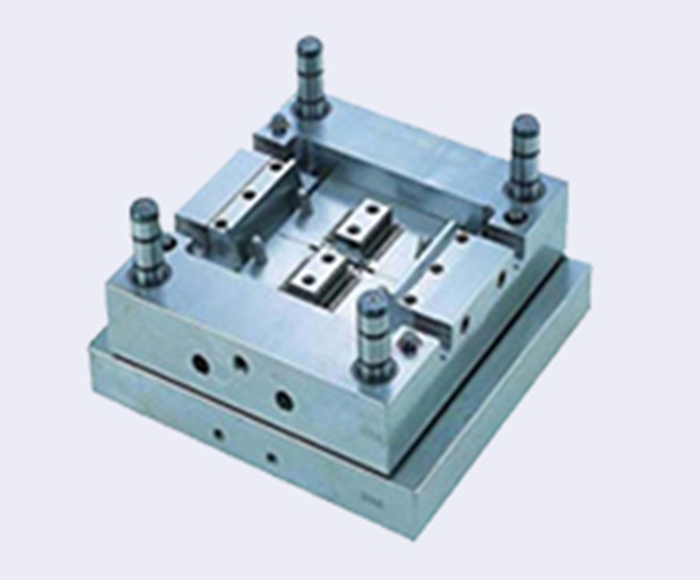
Plastic products processing Injection mould Shrinkage ratio of various materials
When designing the plastic mold, after determining the mold structure, you can design each part of the mold in detail, that is, determine the size of each template and component, cavity and core
Size of. This will mean important design parameters such as material shrinkage. Therefore, each cavity can be determined only by mastering the shrinkage rate of formed plastic
The size of the section. Even if the structure of the selected mold is correct, if the parameters used are incorrect, it is impossible to produce qualified plastic parts.
Thermoplastics are characterized by their expansion upon heating, reduction upon cooling, and, of course, reduction in volume upon pressurization. In the injection molding process, first melt
The molten plastic is injected into the mold cavity. After filling, it is melted, cooled and solidified. When the plastic part is taken out of the mold, it shrinks, and the shrinkage is called stratum shrinkage. take
The plastic part is taken out of the mold for a period of time, and the size still changes slightly. One change is to continue signing. This contraction is called regressive contraction.
Another change is that some hygroscopic plastics expand due to moisture absorption. For example, when the moisture content of nylon 610 is 3%, the size increases to 2%, and when the glass fiber increases
When the water content of strong nylon 66 is 40%, the size increases to 0,3%. But the main effect is training contraction.
At present, in the German standard DIN 16901, it is generally recommended to use several methods to determine the shrinkage of plastics (shrinkage formation+post shrinkage). That is, when
The dimensions of the cavity are 23 ° C ± 0.1 ° C and when placed 24 hours after molding, the difference between the corresponding plastic parts measured at 23 ° C and humidity is calculated. mutually
The value is 50 ± 5%.

Shrinkage S is expressed by the following formula: S={(D-M)/D} × 100%(1)
Where: S shrinkage; Matrix size D; Plastic size M
If the cavity is calculated according to the known size of the plastic part and the shrinkage of the material, D=M/(1-S). In order to simplify the calculation in mold design, the mold size
It is usually obtained by the following formula:
D=M + MS(2)
If more accurate calculation is required, the following formula shall be applied: D=M+MS+MS2 (3)
However, when determining the shrinkage rate, because the actual shrinkage rate is affected by many factors, only approximate values can be used. Therefore, the cavity size is calculated by formula (2)
It meets the requirements. When manufacturing the mold, the mold cavity shall be processed according to the lower deviation, and the mold core shall be processed according to the deviation, so as to carry out proper trimming when necessary.
The main reason why it is difficult to accurately determine the shrinkage rate is that the shrinkage rate of several plastics is not a fixed value but a range. Because the shrinkage of the same material produced by different factories is different
Similarly, even the same materials produced in the same batch of factories have different shrinkage rates.
Therefore, each factory can only provide users with a series of shrinkages of plastics produced in the factory. Secondly, the actual shrinkage during the forming process is also affected by such factors as plastic parts
The shape of the mould, the structure of the mould and the forming conditions. The following is an introduction to the impact of these factors. Plastic modeling
For the wall thickness of formed parts, the shrinkage rate is also large due to the long cooling time of the thick wall. For general plastic parts, when the melt flow direction L is perpendicular to the melt
When the difference between the dimensions W in the direction of body flow is large, the difference in shrinkage is also large. From the flow distance of the melt, the pressure loss far away from the gate is large, so
At this time, the shrinkage rate is also greater than that of the nearby gate. Due to the anti shrinkage of reinforcing ribs, holes, bulges and carved shapes, the shrinkage rate of these parts is very high
Small.
Die structure
The shape of the door also affects shrinkage. When a small gate is used, the shrinkage of the plastic part increases because the gate cures before the pressure is maintained. In injection mold
The structure of cooling circuit is also the key of mold design. If the cooling circuit is not properly designed, the uneven temperature of the plastic parts will lead to shrinkage, resulting in
Oversize or deformed. In the thin-walled part, the temperature distribution of the mold has more obvious influence on the shrinkage.
Die dimensions and manufacturing tolerances.
In addition to calculating the basic dimensions by the formula D=M (1+S), the machining dimensions of the mold and core cavity also have the problem of machining tolerance. According to convention, mold
The machining tolerance of is 1/3 of the plastic part tolerance. However, due to the difference in the scope and stability of plastic shrinkage, the plastic parts formed by different plastics must be
Rationalization of dimensional tolerance. In other words, the dimensional tolerance of plastic molded parts with large or poor shrinkage must be larger. Otherwise, there may be many characteristics
Waste products of different sizes.
Therefore, various countries have formulated industry standards or standards for dimensional tolerance of plastic parts. China has also formulated professional ministerial standards. However, most of them
There is no corresponding dimension tolerance of the mold cavity. The DIN 16901 standard and the corresponding DIN 16749 standard, which specify the dimensional tolerance of plastic parts, are used for
Dimensional tolerances. This standard has a great impact on the world, so it can be used as a reference for the plastic mold industry.
Dimensional tolerances and tolerances for plastic parts
In order to reasonably determine the dimensional tolerance of plastic parts formed by different shrinkage characteristics, the standard introduces the forming shrinkage difference Δ The concept of VS.
△VS=VSR_ VST(4)
Where: shrinkage form VS shrinkage rate form VSR in the direction of melt flow Shrinkage rate VST form is in the direction perpendicular to the direction of melt flow.
According to plastic Δ VS value to divide the shrinkage characteristics of several plastics into four groups. Δ The group with a small VS value is a high-precision group, and so on, Δ The group with high VS value is low
Precision group. Precision technology has been developed according to basic dimensions, 110120130140150 and 160 tolerance groups. Plastic molding with stable shrinkage characteristics is also specified
The dimensional tolerance of parts can be selected between 110120 and 130 groups.
The dimensional tolerances of plastic molded parts with moderately stable shrinkage characteristics are 120130 and 140. If 110 dimensional tolerances are used for such molded plastic parts
A large number of large plastic parts can be produced. size. The dimensional tolerances of plastic molded parts with differential shrinkage characteristics are selected from 130140 and 150. With poor shrinkage characteristics
The dimensional tolerance of plastic molded parts of is selected from 140150 and 160. When using this tolerance table, the following points should also be noted. The general tolerances in the table are for those that do not indicate
The dimensional tolerance of the difference.
The tolerance of direct label deviation is the tolerance zone used to determine the tolerance of plastic parts. The upper and lower deviations can be determined by the designer. For example, if the tolerance zone is 0.8
Mm, you can select the following upper and lower deviations. 0.0; - 0.8; ±0.4; - 0.2; - 0.5, etc. Two groups A and B in each tolerance group have tolerance values. among
A is the dimension formed by the combination of mold components, which increases the error caused by the incompatibility of mold components.
This increase is 0.2mm. Where B is the dimension directly determined by the mold assembly. Precision technology is a set of tolerance values that are specifically used for high-precision plastic parts. stay
Before using tolerances for plastic parts, the injection mold factory must know which tolerance group is suitable for the plastic used.
